What is it?
Dvolver is a tool that helps you to create short animated movies online. It is really easy to use. All you need to do is to select your own choice of background, characters, scenario, soundtrack, and credits as well as type in your own dialogue.
Now, everyone can be a director and create their own movie. And it's totally FREE!
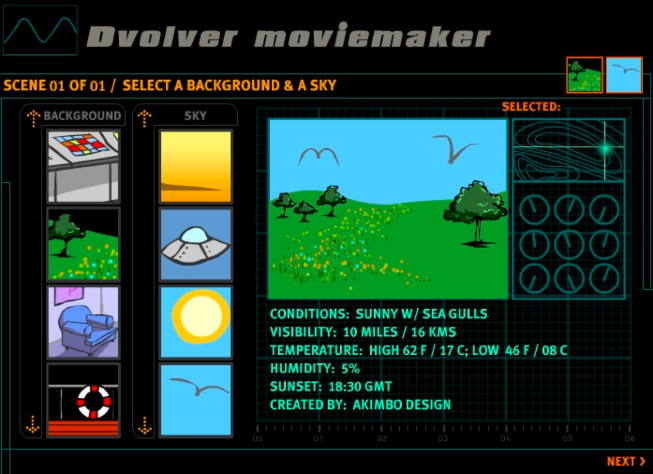
Dvolver moviemaker interface
How to use Dvolver?
Here is step-by-step guide on how you can create videos using Dvolver:
Here is step-by-step guide on how you can create videos using Dvolver:
- Go to Dvolver <--- (click on the link to go to the website).
- Then, click on 'make a movie' button.
- Set place for your movie by selecting a background and a sky. Once done, click on 'next' button.
- Select a plot for your movie. Once you have made up your mind on the plot that you are going to use, click 'next'.
- Choose characters for starring in your movie.
- Next, add dialogues for each character but bear in mind that you only have to commit to 100 words per line.
- Once done with the dialogue, click on 'next' to choose background music to give your movie some mood. You can also choose not to include music if preferable.
- If you like to make another scene, just click on 'add new scene' and repeat the above process, or if you are happy enough with your movie, just click on 'finish movie' button.
- Give your movie a title and include director's name. Choose a title design. Then, click on 'preview and send movie' button.
- DONE! You can now watch your movie and share it through e-mail, either to your friends or teachers.
Video on how to use Dvolver
How to use this with students
- Teachers can use this tool to create multimedia materials for students. For example, before class teachers can make a short movie using Dvolver to pre-teach students about a particular grammar point.
- For homework purpose, teacher can ask students either individually or in groups to direct a movie about topics that are related to students' life such as educational trip, sports day and teacher's day, or about their personal life like their hobbies, favorite movies and holiday plan. Asking students to come out with something that are related to their life can help them to have something to say. After finishing their masterpieces, students can just e-mail it to teachers to look at.
What I liked about it
- It is fun and motivating.
- It is user-friendly. Easy to use and quick to learn.
- It helps to develop students' creativity.
- It gives students sense of ownership.
- It is FREE!
Its limitations
- It needs internet connection, which might be a problem as not all students have access to internet.
- Choices given such as character and scene are quite fixed, which would limit students' creativeness in making the video. It would be better of students can create their own characters.
- Some characters given also are not appropriate especially for younger students.
I've actually made a movie using this cool stuff. So, sit back and ENJOY!


No comments:
Post a Comment